Are you looking for tips on how to hang pictures in your home? It’s easier than you think! Here, we’ll give you a step-by-step guide to hanging pictures on your wall. Whether you’re hanging pictures without nails or going down the traditional route, you can make the task a breeze with a little advice.
Step 1: Select your pictures and frames
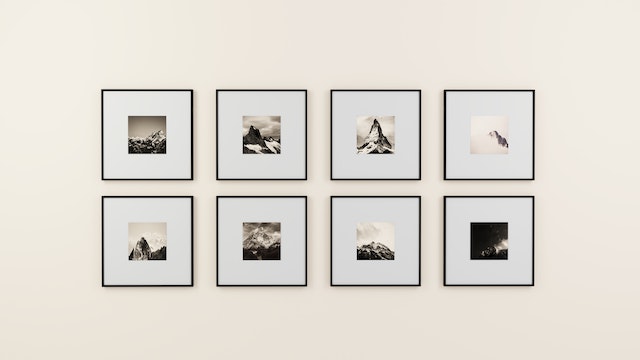
When selecting what type of pictures and frames to use, consider materials that are lightweight but still provide durability. If a frame is very heavy, it may pull away from the wall over time. To avoid this, opt for wood or plastic frames when possible. Also, when considering picture placement, remember that grouping similar pieces together makes for an attractive visual presentation. If you need extra inspiration, these gallery wall ideas will spark your creativity.
Step 2: Choose your wall
The most important step is to choose the perfect spot for your picture. Make sure you pick a wall that is not damp or moldy, as this issue may need to be fixed, and dampness could damage the artwork over time. Also, consider the space size, as pictures look best in proportion to the room. This is especially important if you’re creating a gallery wall or have distinctively large or small pictures.
Step 3: Measure and mark the area
Once you’ve chosen your wall, use a measuring tape to measure where you want your pictures to go. Use a pencil or a marker to make small marks on the wall so you know exactly where the nails should go later. This is also a good time to ensure that the frames you’ve picked will fit in the space.
Step 4: Hang your pictures
Now it’s time to hang your pictures! If you’re using nails, use a hammer to gently tap them into the wall at each mark. Make sure they are firmly in place before you start hanging the pictures. If you aren’t using nails, make sure you use the correct type of wall hanger for your wall material. Once everything is in place, hang up your pictures and use a level to ensure they are straight. Don’t have a leveling tool? Don’t worry. These five methods for hanging pictures without needing a level could help greatly.
Step 5: Step back and inspect your work
Now it’s time to take a step back and inspect your work. You can rearrange the pictures if you feel it’s not quite right, although this option may be limited if you use nails. If you notice any gaps or unevenness, try adjusting the frames or adding more pictures to even it out. Did you accidentally damage your wall? This guide on repairing walls can help you fix any issues quickly and easily.
Step 6: Accessorise
Your work isn’t quite finished yet! Consider adding some accessories to really make your wall pop. These can include anything from artwork and sculptures to plants, candles, or vases. Play around with different ideas until you achieve the look you’re going for.
Step 7: Enjoy!
Once your pictures are hung, it’s time to sit back and enjoy the view. Now you’ve got a beautiful, stylish wall you can admire any time. And if you ever want to make any changes, now you know what to do.
And there you have it – a step-by-step guide to hanging pictures on your wall. With these tips and tricks, you can make the task easy and enjoyable. Now go ahead and get started. Good luck!
Featured Image by nali_wike from Pixabay